Oops I Did It Again

To make one weird custom split keyboard may be considered unfortunate. To make two starts to look like a rabbit hole. Nevertheless, that’s where we are.
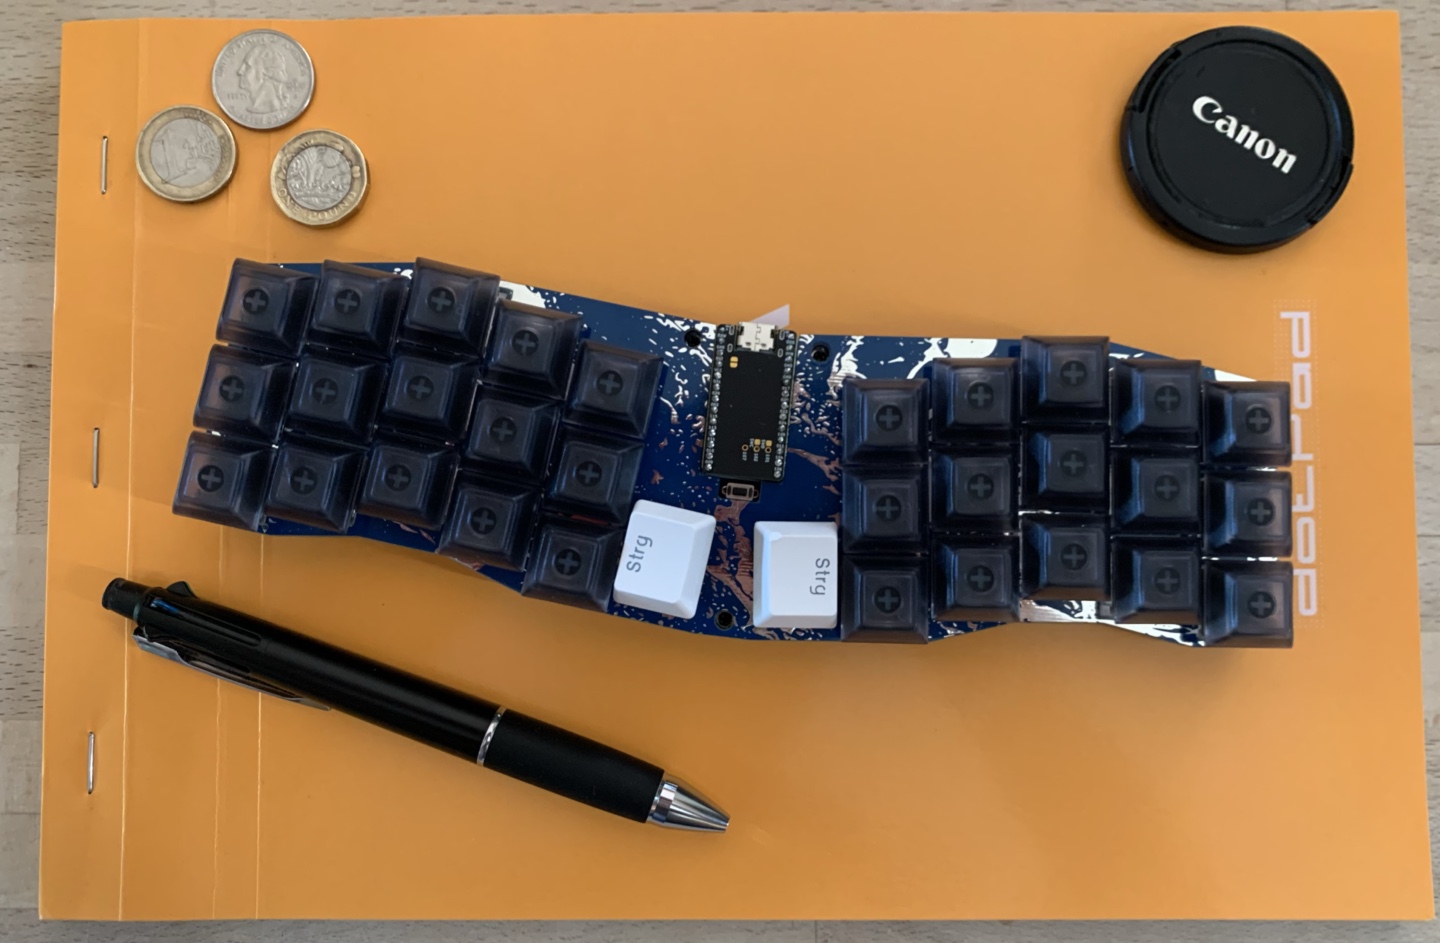
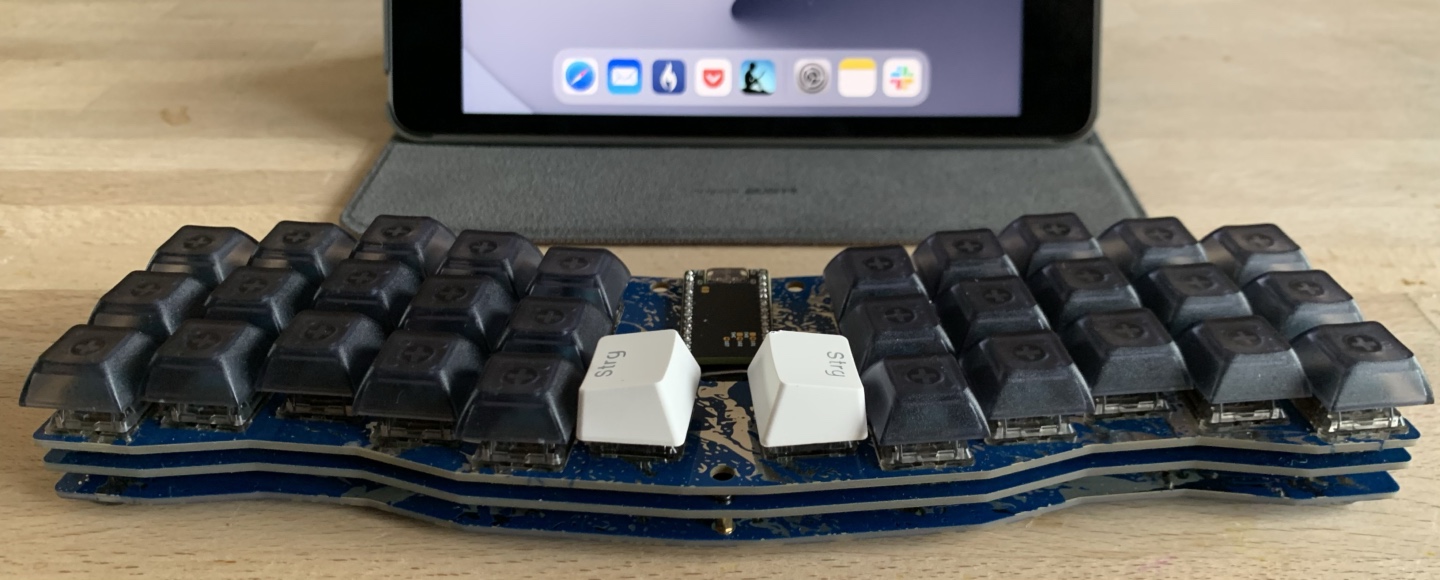
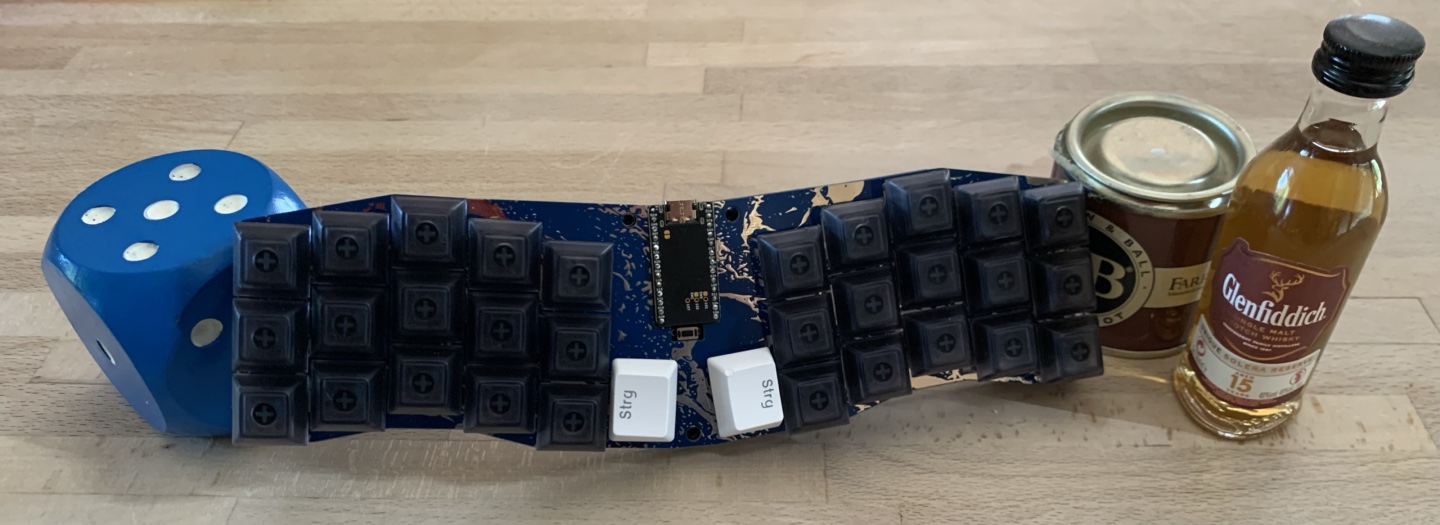
Even before I’d completely finished my first keyboard build, I was already looking for ideas for the next. Out of several contenders, the one that caught my eye was the Manta kit. This is a very compact single-piece split keyboard kit that takes the de facto standard Pro Micro controller board. It occurred to me that pairing it with the pin-compatible nice!nano would result in a neat and very compact wireless keyboard to complement my Corne. After vacillating a little about whether I could commit to such a restricted layout, I ordered the bits as a birthday present to myself.
As it happened, I should probably done a bit more research. Once I came to put things together, I realised that the Manta wasn’t actually on the list of supported hardware in ZMK, the preferred firmware for the nice!nano. A little searching suggests that I was the first person to try this particular combination1. This was more ambitious that I was aiming for on my second build. I felt like a challenge, though, so I pressed ahead.
The Manta doesn’t have the wealth of easily available resources as more popular kits like the Corne, but I did manage to track down a schematic showing how the pins are wired up (in particular, the rows and columns of the matrix). In combination with ZMK’s excellent new shield documentation2, this was enough to get the hardware up and running.
(One aspect worth mentioning is ZMK’s interesting tooling approach; while you can download a tool chain and build locally, this isn’t necessary if all you’re doing is adding new configurations. Instead, they have a very straightforward setup based on GitHub Actions. This builds the desired firmware on each change pushed to GitHub, and you just download the resulting artefact to flash to the controller. This sounds baroque on paper, but works really well on practice and removes a significant barrier to getting started.)

So far, I’m pretty pleased with the result. I’m using essentially the same layout as for my Corne, so the main differences are physical — the proximity of the two halves, and in particular the higher position of the thumb keys. The latter took a bit of getting used to, and isn’t quite as comfortable for me as the Corne’s more spacious arrangement, but it seems workable and a reasonable trade-off to reduce the overall footprint.
I wanted to try a tactile switch this time around, and went with Durock Tactile 67g Teal. I’ve not installed a heavier switch for the P key yet; I thought that the reasonably high activation force combined with the perceptible bump would mean it wasn’t necessary. So far this seems to be the case, but I’ll need to use it more to be sure.
The feel of the switches is great, and I think I prefer them over linear. I’m definitely noticing the noise, though — while not too obnoxious, it’s certainly a lot louder than the Silent Ink Blacks in my Corne. For my next build, I’ll be looking for something in between the two.
Yes; “next build”. The Corne is a good home keyboard, and the Manta joins it as a fine portable one, but there are more things I want to try, both for the pleasure of making them and the pursuit of elusive perfection. The rabbit hole goes on for while longer yet.

I may write up a build guide in due course, but if you want to try the Manta with a nice!nano my shield configuration is here.
-
If you know differently, please let me know. [back]
-
“Shield” is a term originating in the Arduino ecosystem; in ZMK, it specifically means a the board that carries the actual switches, and connects to a daughterboard containing the controller (the “board”) as opposed to having a controller built in. In this case, the Manta is the shield and the nice!nano is the board. [back]