First Functional Print

About the same time as my educational foray into multicolour printing1, I decided to put the printer to work doing something useful: my first functional print. I had an almost-complete design already, that I’d produced while getting started with OpenSCAD, so it was just a matter of turning it into reality.
Regular readers may recall my project at the start of the year to revive a Mac SE in honour of the 40th anniversary of the Mac itself. At the heart of that was a BlueSCSI SCSI emulator. I chose to mount this internally in the location of the old hard drive, which was great for preserving the feel of the machine, but made access to the SD card storing the data an issue. I alleviated this somewhat by adding a simple extension adapter, but there was no easy way to mount it, and so it just dangled out of the back of the case.
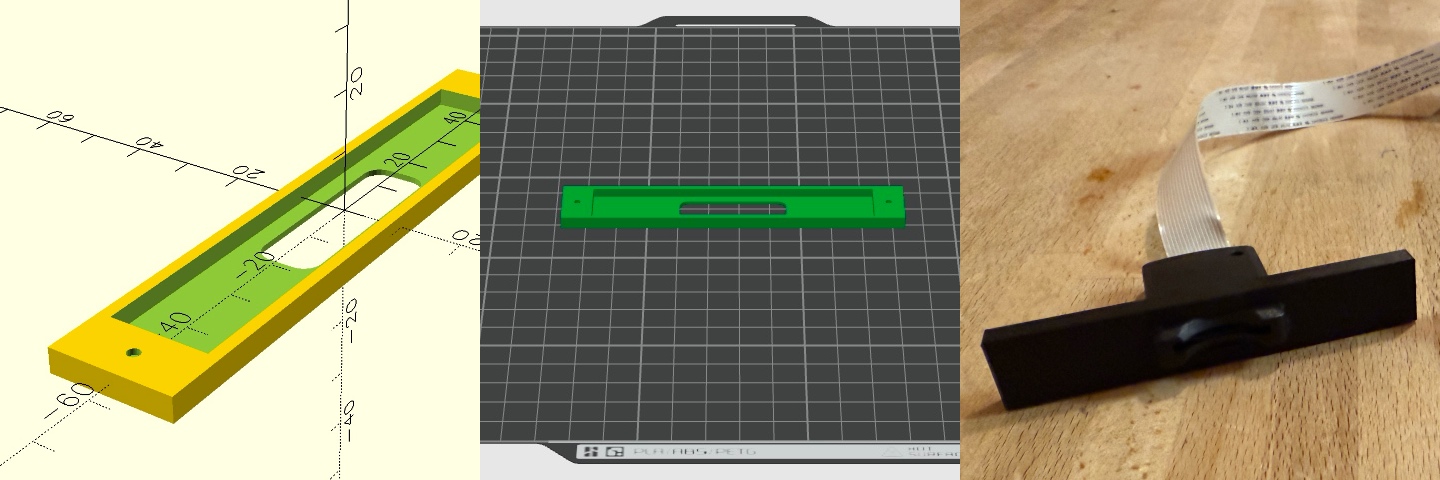
The obvious solution was to make a custom blanking plate to fit into SE slot in the back of the Mac (if you’re not familiar, picture a PCI slot and you’re in the right ball park), with a hole sized to fit the extension cable’s card reader. This turned out to be pretty straightforward and a good started project in OpenSCAD (the leftmost image). I exported the design, imported it into Bambu Studio (the middle image), and sliced and printed it without issue.
I tried the finished piece in the bracket into which it would be installed, and found a few things. Firstly, I’d assumed I’d be using small self-tapping screws to fix the plate in place, and designed in a couple of pilot holes. On the off chance I tried a couple of M2 bolts I had laying around, and these fit perfectly. Less positive was that my measurements had been a bit off — the screw holes were a few millimetres too close to the centre, and the slot for the card reader was a little too small.
I grabbed a set of files and started to try and correct the latter problem, but the realised that I didn’t need to. I could just go back into OpenSCAD, adjust the model, and print out another version. While there, I made the whole panel a little thicker as well. This new version was spot on, and I epoxied the reader in place (the rightmost image), and reassembled the Mac with its new, tidier storage.
This workflow wasn’t something that I’d thought about, but on reflection is a major advantage of having your own 3D printer rather than using a service or MakerSpace. A key use case for 3D printing has always been rapid prototyping, and this still applies when the final item is 3D printed itself. Printing another version of a part isn’t as light-weight or cheap as recompiling software, but it’s a hell of a lot cheaper than fabricating a silicon wafer or retooling a factory. Having a (relatively) rapid turnaround means you can iterate on a design and get to the best final version quickly, rather than try to anticipate every problem up front, and bodge the ones you don’t catch for a sub-optimal result. It brings some of the agility of software into the real world.
-
A note of chronological clarification: I’m a bit behind on writing things up, and both this and the previous post relate to the weekend of the 10th of November. [back]